
The Wish Process
Bringing your wish to life.
Most coatings fail for one reason: bad prep. This is the start-to-finish scope of work behind every Wish floor — and the reason every floor we install carries the Wish Warranty.
Opening up the concrete
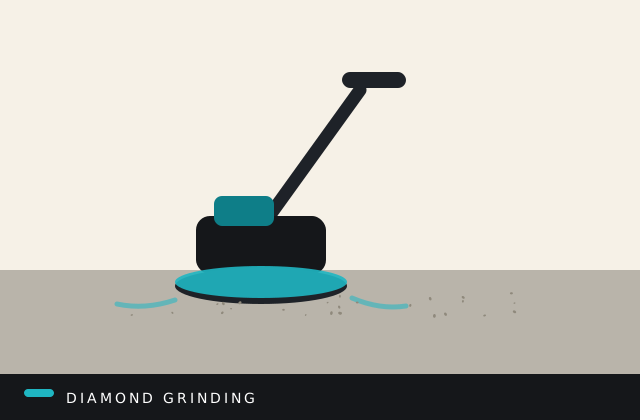
We start by grinding the surface with heavy diamond tooling. That strips off old sealers and grime and roughens the concrete so the coating can lock on — exactly like sanding wood before you paint it. It's the single biggest reason our floors bond for good instead of peeling.
Perfecting the edges
The big machines can't reach into corners and along walls, so we switch to handheld tools to grind right up to the edge. No skipped spots, no weak seams — the coating bonds wall to wall.
Repairing cracks and defects
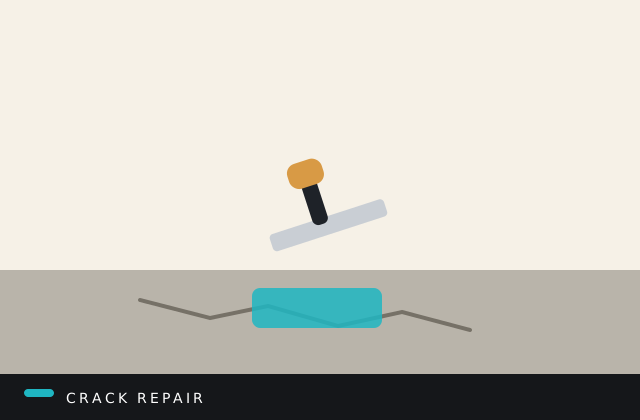
Concrete takes a beating over the years. We find every crack, pit and divot, clear out the loose stuff, and fill them with high-strength repair compound. Once it sets, we grind it flush so old damage disappears under a smooth finish.
Cleaning the floor
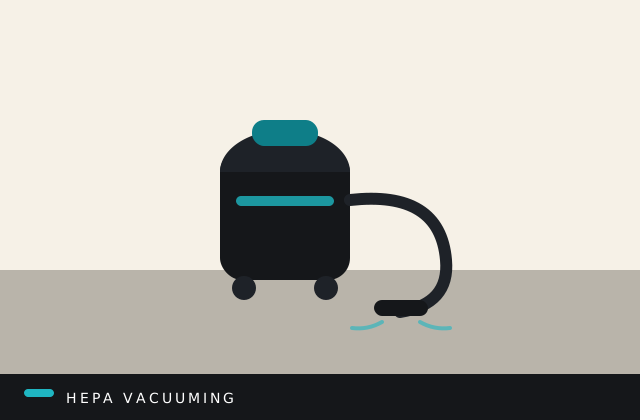
Coating won't stick to dust. We vacuum the entire slab with industrial HEPA filtration, pulling up the fine concrete dust most people never see. The floor goes down spotless and ready for the first coat.
Preparation

Applying the epoxy base
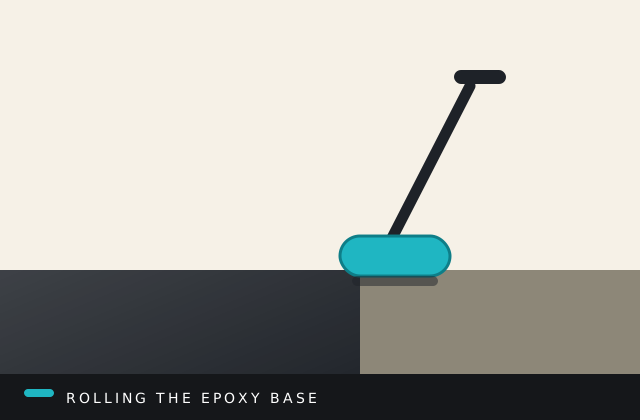
Now the epoxy goes on — a self-leveling, two-part coat that soaks into the open concrete and grips permanently. It also seals out ground moisture, the hidden culprit behind blistering, bubbling DIY floors.
Full flake broadcast
While the base is still wet, we hand-broadcast your chosen vinyl flake across the whole floor until it can't hold another flake. That gives you the custom look, adds slip resistance, and builds an extra layer of armour. You approve your colour mix before we start.
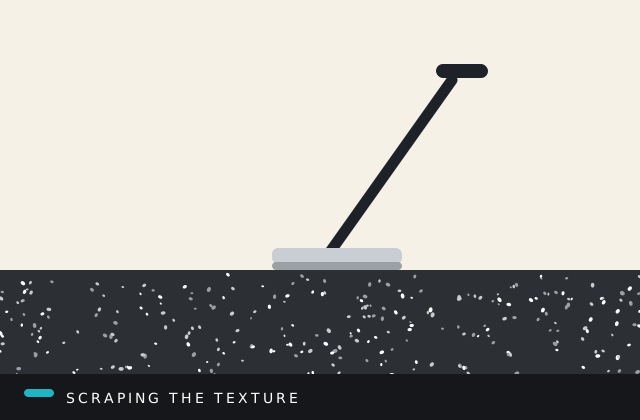
Scraping the texture
Once it's dry, we scrape the floor in every direction to knock down any loose or sharp flakes standing on edge, then vacuum again. You're left with an even, comfortable surface that's ready for its final shield.
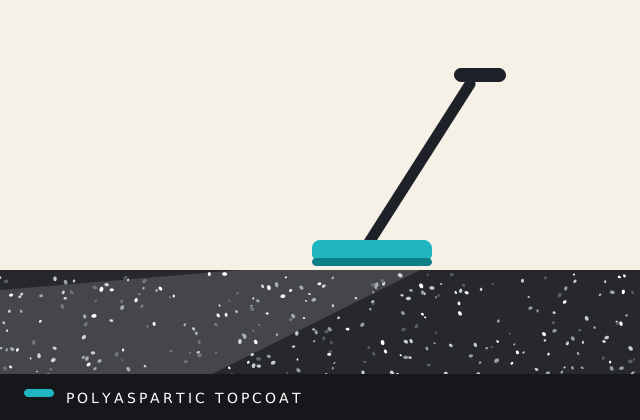
Sealing it in
We lock everything in with a commercial-grade, UV-stable polyaspartic topcoat. It won't yellow in the sun, shrugs off spills and scuffs, and gives you that glossy, showroom finish that wipes clean in seconds.
The final clean-up
We treat your home like our own. We pack up the gear, clean the space, and haul away every scrap of debris. When we leave, you step onto a flawless new floor — not a messy job site.
Application

That's nine steps most contractors skip.
Every Wish floor gets the full process — and the warranty that comes with doing it right.
Visualize my new floor